
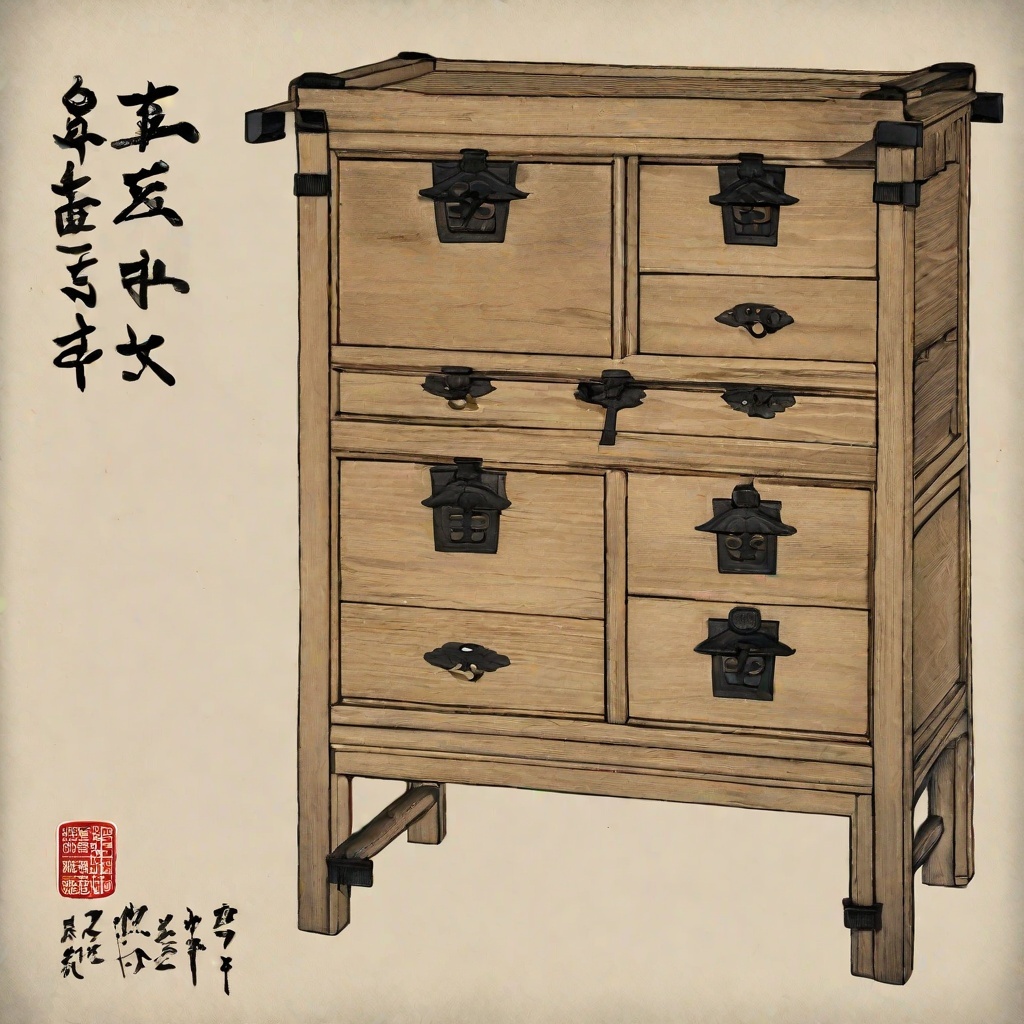
The General Production Process of Osaka Senshu Kiri Tansu
Delve into the traditional craftsmanship of Osaka Senshu Kiri Tansu, a revered Japanese cabinetry style, by understanding its meticulous production process. Here, we unfold each step, enriched with technical details and links to resources that will guide you on a journey of creating a masterpiece.
1. Drying and Sawing
The journey begins with selecting excellent quality paulownia wood, traditionally sourced from Aizu, Fukushima. However, due to over-felling, logs from Virginia and Pennsylvania in the United States are now also used. The logs are sawn carefully to maximize the wood grain patterns, followed by a natural drying process lasting one to three years to ensure minimal discoloration. The drying process is crucial as it impacts the wood's moisture content, which should be around 6-8% to ensure stability and prevent future warping or cracking.
2. Preparing the Timber
This step is crucial for showcasing the beautiful wood grain. The planks are meticulously arranged and combined, keeping in mind the appearance of the finished tansu. Tools like jointers and planers are used to ensure the planks are flat and of uniform thickness.
3. Correction of Warps

As the wood dries, it may warp. This is corrected by gently heating the wood over a fire and applying pressure, a technique that requires a skilled hand. This process is known as steam bending, where wood is exposed to steam to make it pliable and then bent back to the desired shape using clamps and a form.
4. Joining Wood Planks
The unique hagi process is employed to create wide wood planks. The sides of the planks are glued and joined together, ensuring the wood grains match perfectly, showcasing high-level craftsmanship. This process requires a deep understanding of wood grain patterns to achieve a seamless joint.
5. Preparing the Planks
The planks are cut to precise dimensions for various parts of the tansu, including the top board, body, drawers, and doors. The surface of the wood planks is then planed to achieve a smooth finish. This step requires precision and attention to detail to ensure all pieces fit together perfectly in the later stages.
6. Joint Process
Mortise and tenon joints are prepared, allowing assembly without nails or screws. This traditional joinery technique ensures a durable and long-lasting structure. The mortise and tenon joint is a classic woodworking joint known for its strength and simplicity.
7. Assembly of the Body
Dovetail slides are crafted for the assembly, where dovetail joints are tapped with a hammer and lightly planed to remove traces of assembly, ensuring a seamless fit. The dovetail joint is another traditional woodworking joint known for its resistance to being pulled apart.
8. Drawers and Sliding Doors
Drawers are assembled by fixing the bottom board with wooden nails, while sliding doors are crafted with precision, planed to within 0.01 mm tolerances to ensure a perfect fit. The use of adjustable workbenches and high-quality hand planes is crucial for achieving such precision.
9. Finishing
The finishing touch is applied using a small brush-like tool called uzukuri to bring out the wood grain. A mixture of polishing powder and Alnus firma is used for coloring. The process is repeated to enhance the wood grain, followed by a final wax polishing and attaching selected fittings, culminating in a masterpiece of Osaka Senshu Kiri Tansu.
Comments
Post a Comment